


Available from Light subscription, the Catalog module has been designed to be easy to use and highly customizable with advanced filters, groups of events and much more, making it a perfect tool for promoting your events.
Basics
In order to create your catalog, click on the catalog icon on the left side bar menu and then on the +Add catalog button at the top right of your screen. You can then define the name, URL and main language of your catalog.
Marking your catalog as Private will prevent indexation on search engines.
Easy access to your catalog
You can easily access to your catalog at any time by simply clicking on the button next to your catalog's name at the top of the screen. It is particularly helpful to see in real-time the changes made.

Catalog status
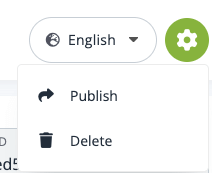
The status of a newly created catalog is always set to Offline by default. In order to change the status of your catalog, click on the More actions button at the top right of the screen and choose if you want to Publish or Delete your catalog.
Catalog access rights
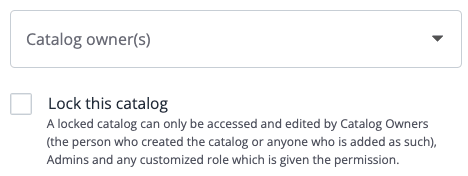
Once you have created your catalog, you can assign one or several owners to your catalog and lock it just as with your events in order to restrict its access.
By default, Account Admin and Profile Admin have access to the catalog section. You also have the possibility to grant access to any other user in the Permissions section.
For Corporate subscriptions only
Choose whether the settings (branding, color template, custom URL, etc.) of your account or a specific profile should be applied to your catalog. You should also select the profile(s) for which you want the events to be displayed on the catalog.
Events
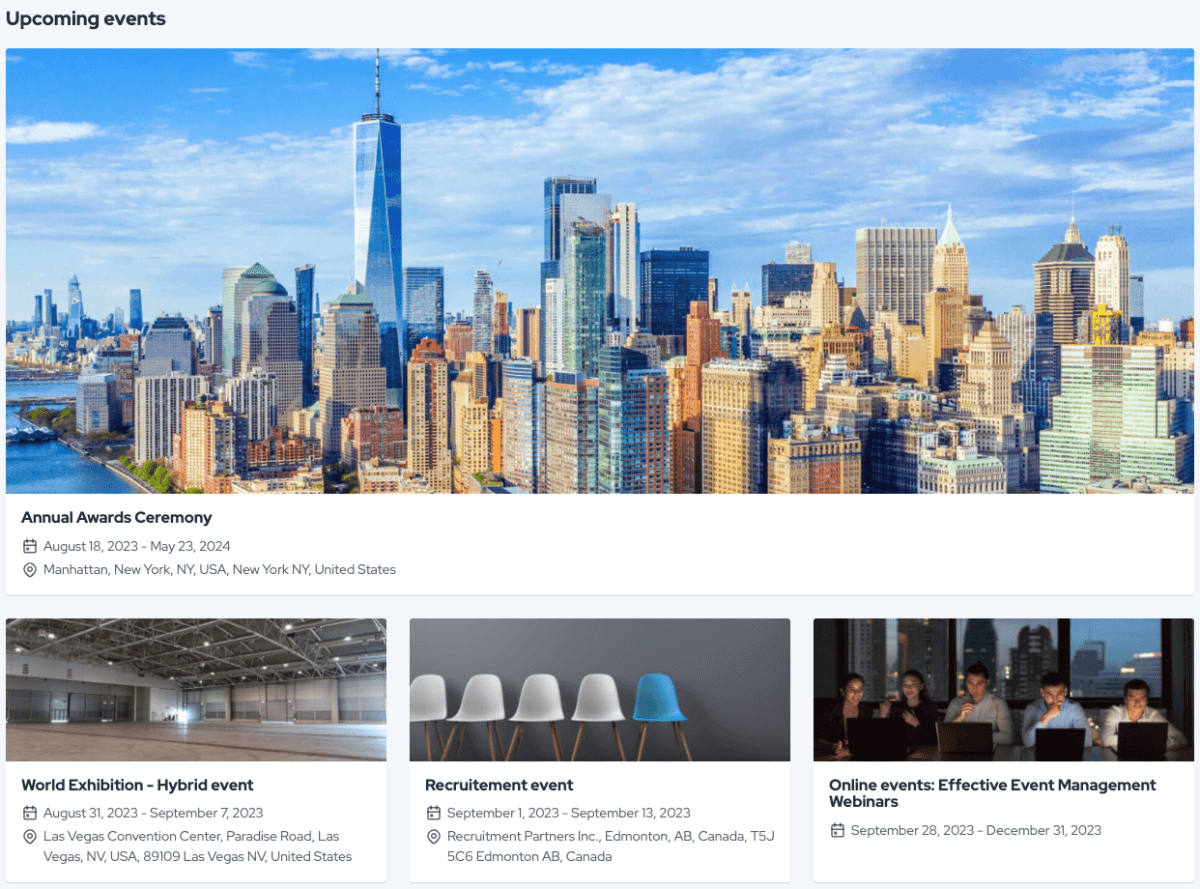
Choose the name of the events section in your catalog, set the maximum number of events displayed per page and decide wether your events are ordered by Event name, Start date or End date. Please note that only your upcoming public events will be displayed in your catalog.
By default, the catalog includes Public events only but you have the choice to include Private events as well.

Advanced catalog
- Available upon request -
Catalog flow

Easily decide which sections you want to display in your catalog by simply activating the toggles according to your preferences. Use a simple drag and drop to reorder the different sections activated in your catalog. The available sections are: Cover image, Description, Filters, Groups of events, Events and Footer.
Content
Upload a specific logo for your catalog page following the recommended size and add a cover image and general description using the content editor just as with your events websites.
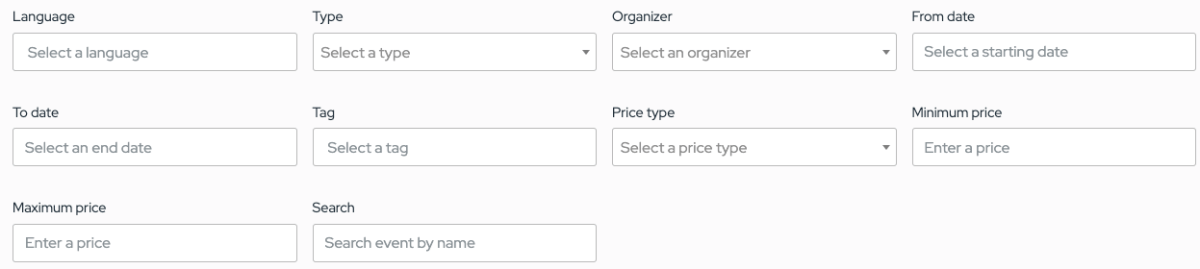
Filters
Customize your catalog with the filters available by default. Simply tick the checkbox corresponding to the filter you want to enable in the Use column. You can even add your own customized filters with our metadata feature. Please contact us if you need more information about this.
You can also generate a URL with filters of your choosing already applied.
This is pretty helpful if you want to share your catalog filtered only on specific parameters (free or paid, physical or online, etc.). Click on the Generate URL button and then simply add the filters you want to use.

Groups of events
You can also create different groups of events by combining filters. This gives you the opportunity to visually highlight specific groups of events. For example, you can create a group named "Physical paid events" by combining Type and Price filters and allow registrants to quickly access those events.
 In order to create a group of events, click on the +Add group button, give your group a name, upload a cover image, add a description and select which filters should be applied to your group of events.
Footer
Should you need to add any complementary information on your catalog page, you can activate the Footer section and use the content editor to enter your additional content. It can be useful if you want to add links to your Resources, About Us or Contact pages.
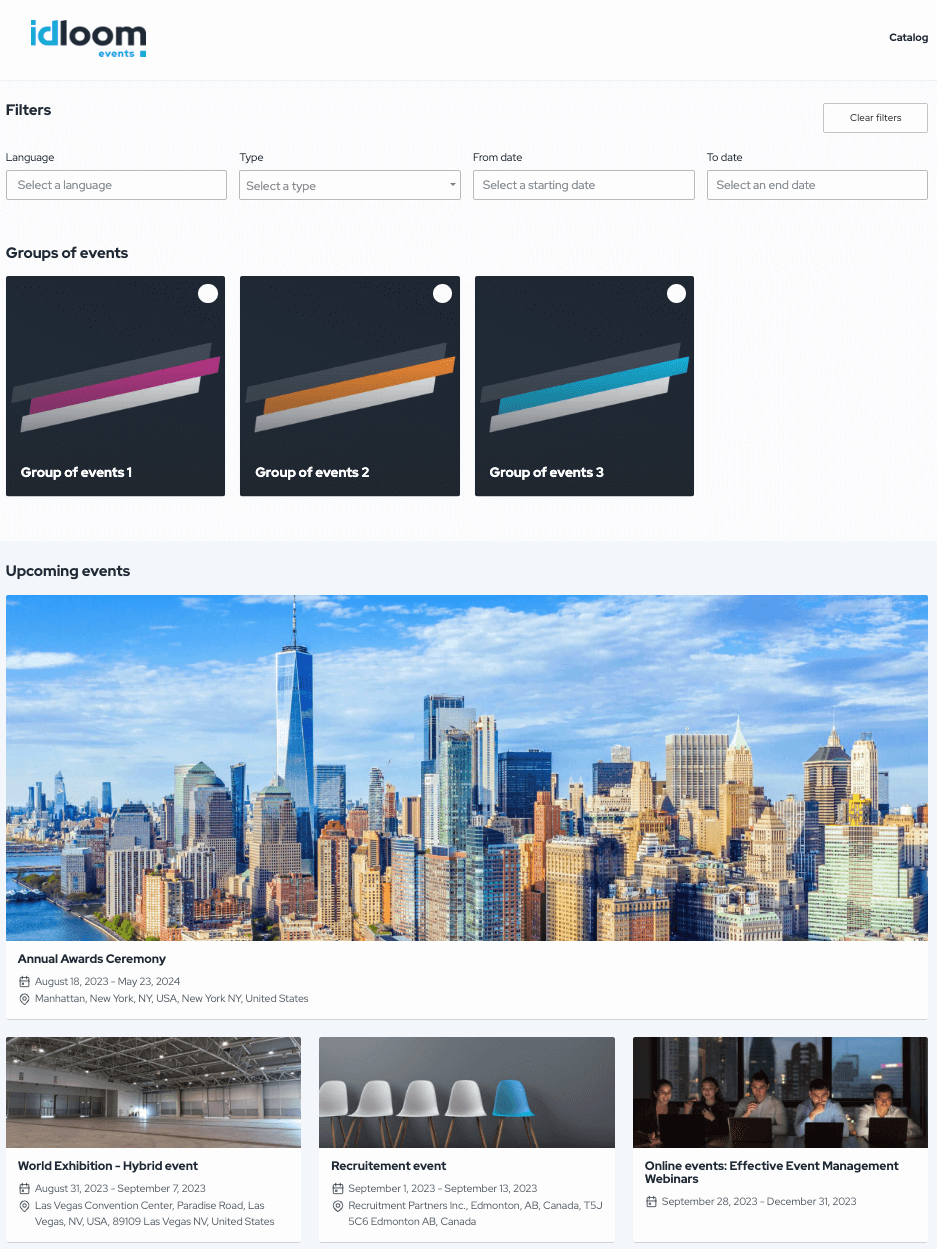
Overview of the catalog
We wish you success and pleasure with all your events!
The idloom.events team